![Step 2 Lightbox Assembly]() 16MarStep 2 Lightbox Assembly
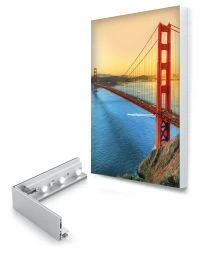
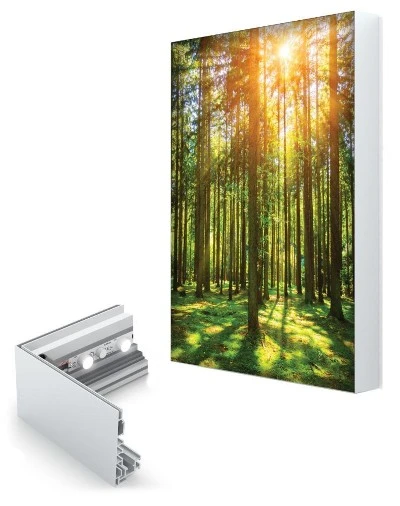
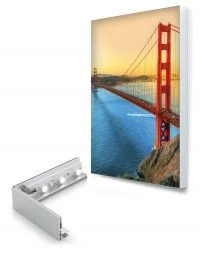
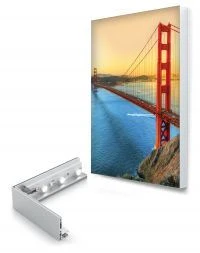
16MarStep 2 Lightbox AssemblyStep 2 Lightbox Assembly Insert the flat L-bracket with four (4) set screws into the back of one of them The extruded segment is shown in the figure.
view more![Step 2 Lightbox Assembly]() 16MarStep 2 Lightbox Assembly
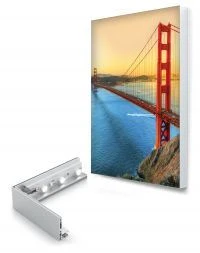
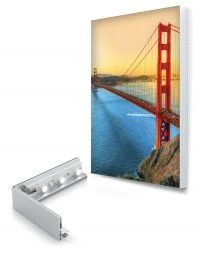
16MarStep 2 Lightbox AssemblyStep 2 Lightbox Assembly For angled brackets: Insert angled brackets into the same extrusion segment. Screw the bracket firmly into place. Take-Fit Ex
view more![Step 3 Lightbox Assembly]() 16MarStep 3 Lightbox Assembly
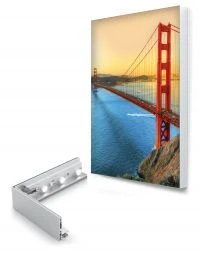
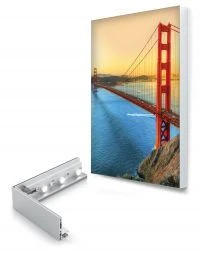
16MarStep 3 Lightbox AssemblyStep 3 Lightbox Assembly For larger boxes, the sides can be split into sections. These parts are Straight cut (not a 45⁰ angle). Attaches using three
view more![Step 4 Lightbox Assembly]() 16MarStep 4 Lightbox Assembly
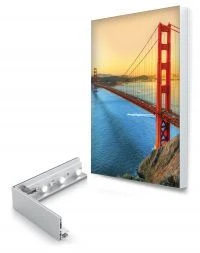
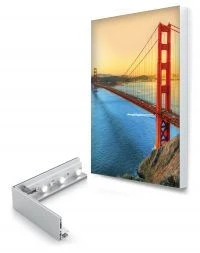
16MarStep 4 Lightbox AssemblyStep 4 Lightbox Assembly Then connect the white woman The connector connects to the matching male connector and the orange female connector connects t
view more![Step 5 Lightbox Assembly The connectors must click together completely. It's ...]() 16MarStep 5 Lightbox Assembly The connectors must click together completely. It's ...
16MarStep 5 Lightbox Assembly The connectors must click together completely. It's ...Step 5 Lightbox Assembly The connectors must "click" together completely. It's normal for the last white female connector to not pick up
view more![Light box electrical description]() 16MarLight box electrical description
16MarLight box electrical descriptionLight box electrical description: The logo aims to Install as specified Section 600 Requirements National Electrical Code and/ or other applicable cod
view more![Lightbox Series Install Fabric Backing]() 15MarLightbox Series Install Fabric Backing
15MarLightbox Series Install Fabric BackingLightbox Series Install Fabric Backing Most frames will use a fabric backing (optional) to reflect light forward onto the graphic. 1. Identify the ext
view more![Step 6 Lightbox Assembly]() 15MarStep 6 Lightbox Assembly
15MarStep 6 Lightbox AssemblyStep 6 Lightbox Assembly 6"-10" silicone goes into the frame channel. Repeat for diagonal B. Repeat for the next corner C. at last, Repeat f
view more![Step 7 Lightbox Assembly Press the silicone evenly between the corners and mi...]() 15MarStep 7 Lightbox Assembly Press the silicone evenly between the corners and mi...
15MarStep 7 Lightbox Assembly Press the silicone evenly between the corners and mi...Step 7 Lightbox Assembly Press the silicone evenly between the corners and midpoint of the frame. This prevents excessive gathering or stretching of t
view more![Light Box Wall Mount]() 15MarLight Box Wall Mount
15MarLight Box Wall MountLight Box Wall Mount: Drill mounting holes in the frame as needed to line up with existing wall bolts. Using a blade or hole punch, pierce or cut smal
view more![Step 1 Light Box Wall Mounting]() 15MarStep 1 Light Box Wall Mounting
15MarStep 1 Light Box Wall MountingStep 1 Light Box Wall Mounting Then mount the light box to the wall (mounting screws and anchors not provided - make sure it fits your wall). The fram
view more![What to pay attention to when installing light boxes on the wall]() 15MarWhat to pay attention to when installing light boxes on the wall
15MarWhat to pay attention to when installing light boxes on the wallWhat to pay attention to when installing light boxes on the wall Light box wall installation note: Before completing the installation, it is important
view more
8618666663894zhang@pride-cnc.com Language
Language- English
- Čeština
- România limbi
- עברית
- Malti
- Български
- Srbija jezik (latinica)
- suomi
- हिंदी
- русский
- Español
- O'zbek
- Ελληνικά
- عربي
- dansk
- Deutsch
- বাংলা
- فارسی
- bosanski
- Melayu
- Italiano
- Bai Miaowen
- Norsk
- magyar
- українська
- Français
- Việt Nam
- Polski
- Lietuvių
- slovenščina
- Cymraeg
- Gaeilgenah Éireann
- Türkçe
- Svenska
- Català
- Nederlands
- íslenska
- Indonesia
- ไทย
- Kreyòl Ayisyen
- Latviešu
- Eesti
- 日本語
- اردو
- slovenčina
- 한국어
- Português
- hrvatski